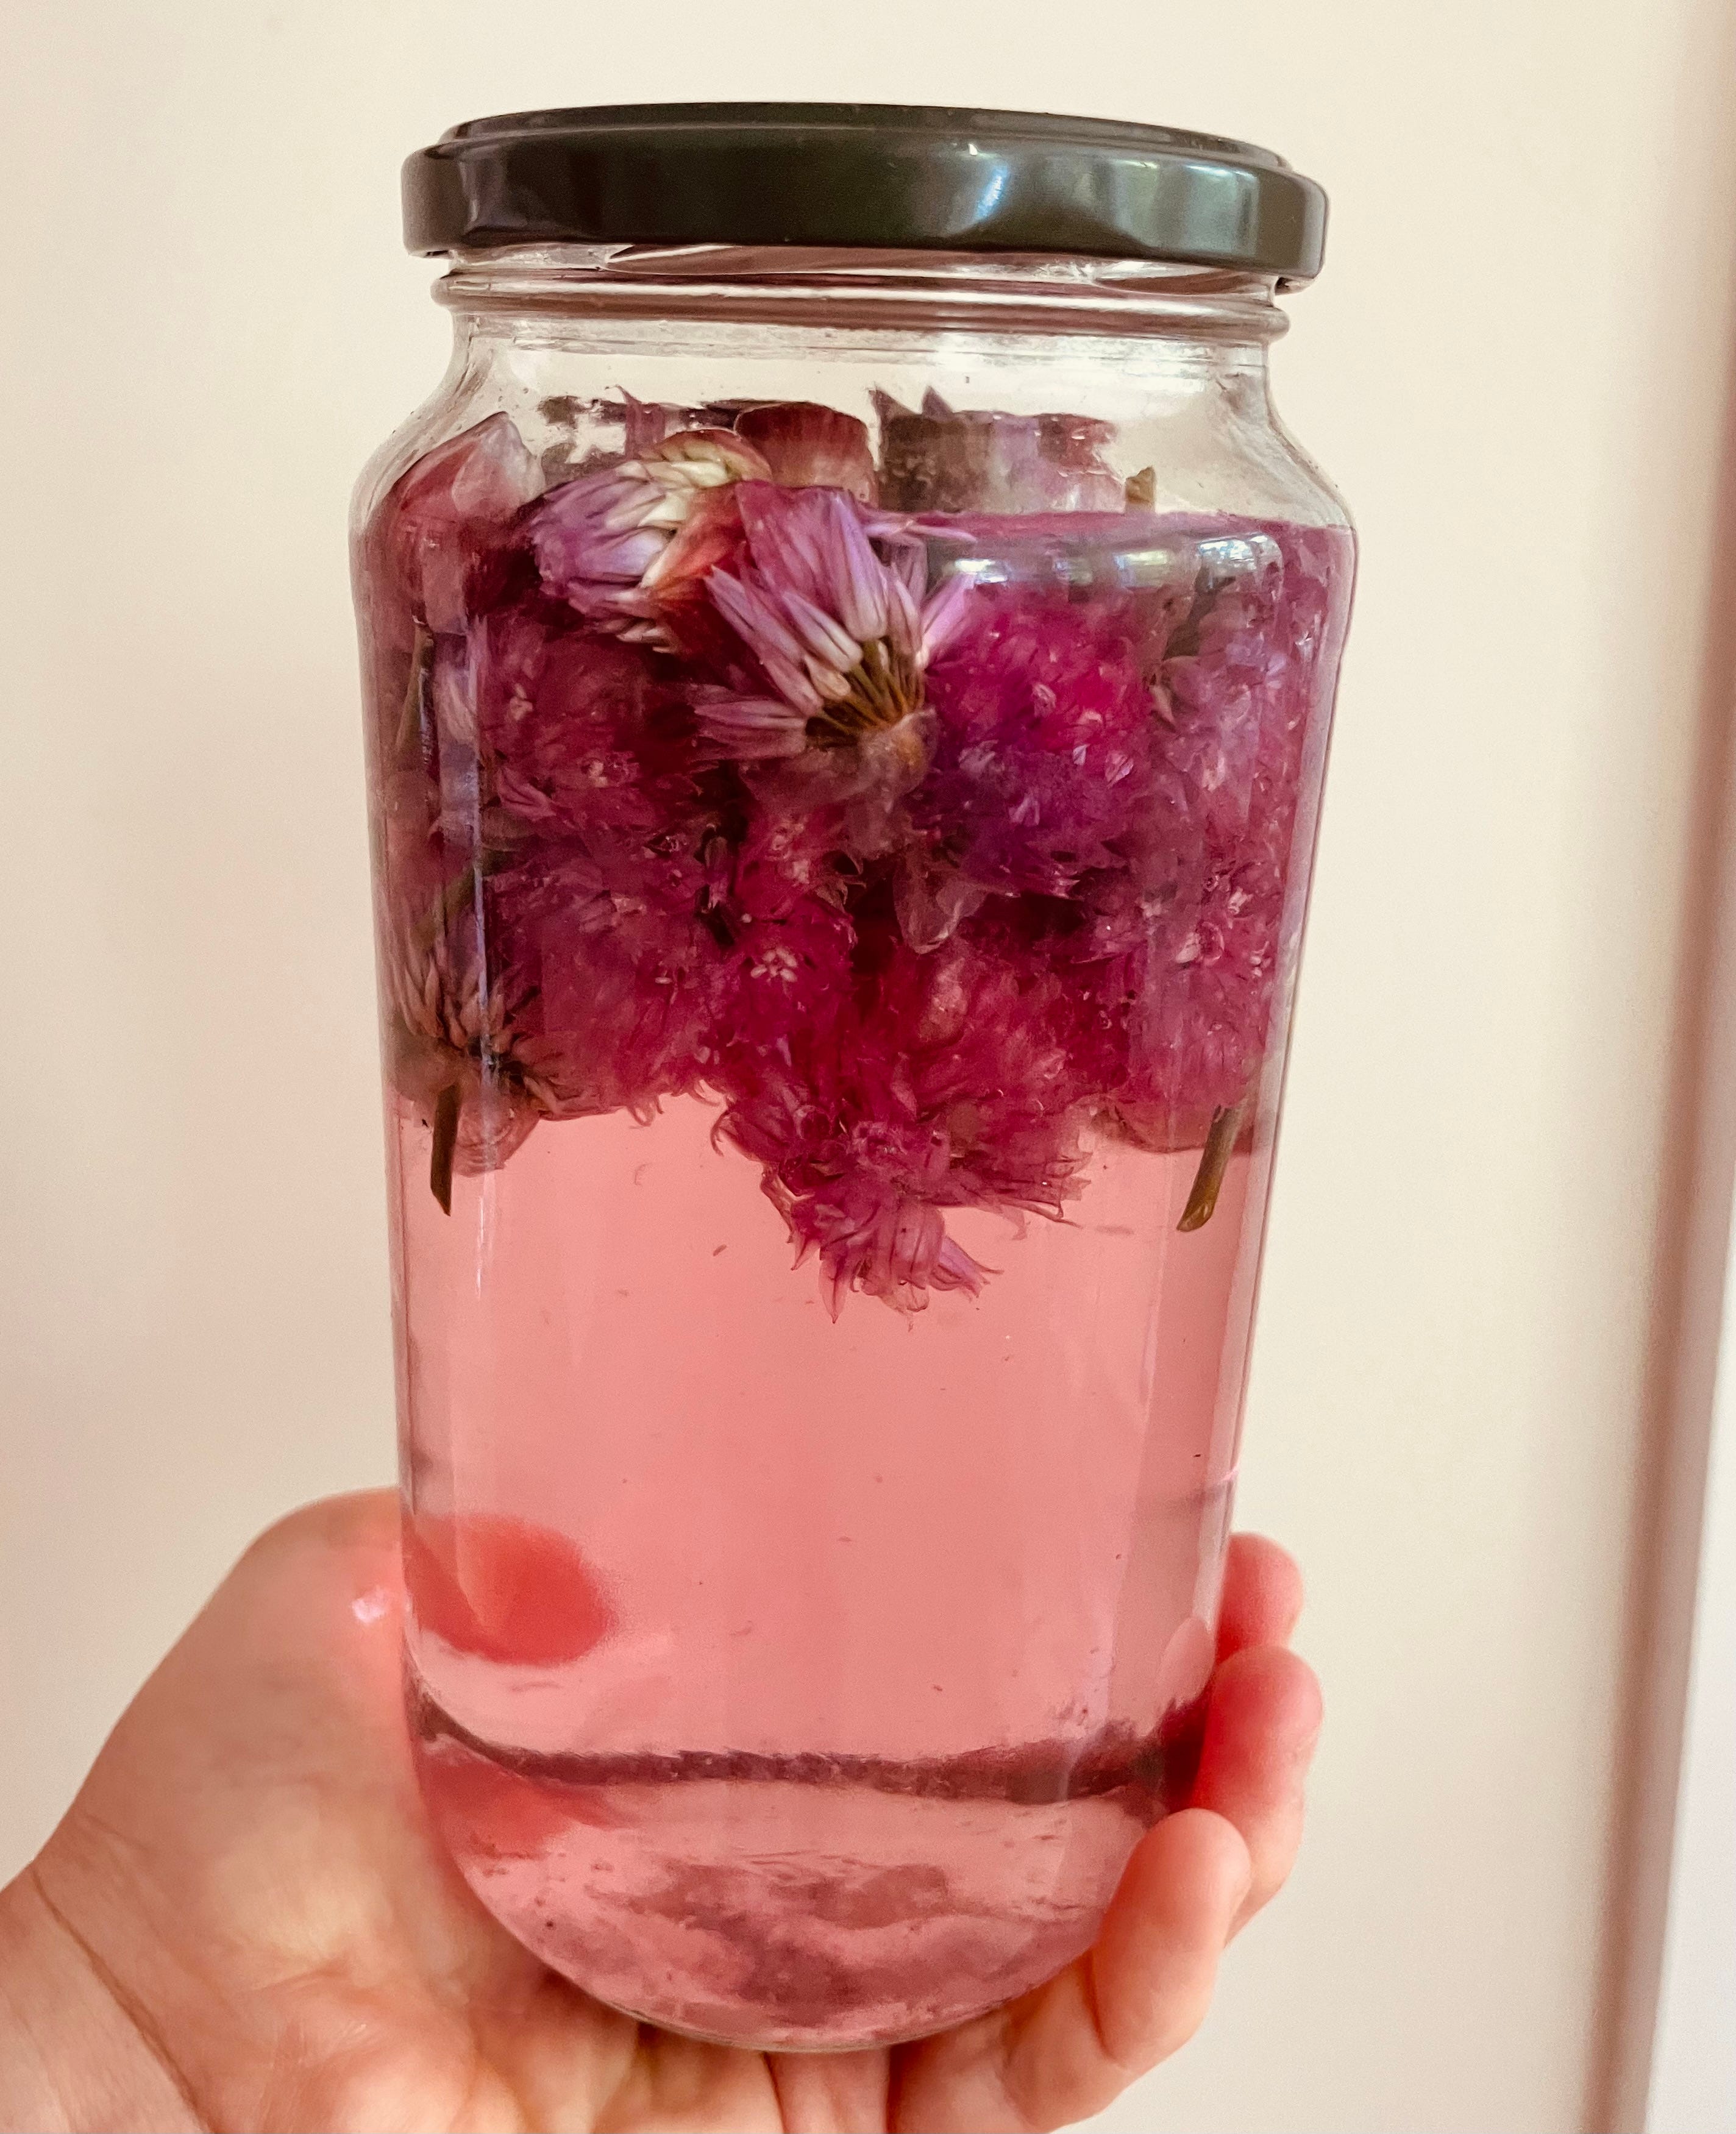
DIY Chive Vinegar
A ridiculously easy recipe for the prettiest lavender hued vinegar you'll use all year long.
At the risk of sounding like a total loser, I’m going to go ahead and proudly state that the allium family is potentially my most favorite of all the plant kingdom families. The alliums - if you’re not yet familiar - include such culinary treasures as garlic, onions, leeks, scallions, shallots and, yes, chives. I’m not sure that I’d want to cook in a kitchen devoid of alliums, and their health benefits almost surpass their deliciousness. So, with that all said, we grow a few varieties of them in our backyard garden, one being a big pot of chives that keeps coming back year after year. If you don’t grow chives, they are dead easy and you don’t need much of a green thumb to get them to thrive. Simply plant them in a big pot with good soil and you’re good to go; they’re perennial where I live, so hopefully you’ll too get to plant once, enjoy again and again.
In late spring, chives will sprout these lovely purple flowers, known as chive blossoms. These pretty little things are actually edible, and have a light, onion-y flavor that you can toss into salads or use as a garnish. My favorite use for them though is chive vinegar - I made it for the first time last year and had a few bottles of the vinegar to enjoy all year long. I ran out literally in time for the new crop of chive blossoms to appear, so I was very excited to start a new batch and replenish my supply. The vinegar turns a gorgeous lavender hue, and the flavor is light and absolutely perfect for leafy salads or grain bowls. I’m telling you that this is the simplest preparation ever, no canning or annoying multi-step process here. It’s truly fool proof. Here’s the “recipe”, if you can even call it that! I doubled this, since I had a lot of blossoms, so feel free to do the same if you have enough!
Chive Vinegar
Ingredients:
1 cup chive blossoms, rinsed and patted dry
1 1/2 cups white distilled vinegar
Directions:
Add chive blossoms to a large mason jar. Pour in white vinegar to cover. Cover jar tightly with a lid and let steep at room temperature, away from direct sunlight for approximately 2 weeks.
After 2 weeks, strain vinegar into a bottle and discard/compost solids. Vinegar will be a purple-ish hue and smell lightly of onions. Enjoy!
Note that you can also prepare this vinegar using apple cider vinegar or rice vinegar, but the flavor and color will vary. I would not recommend using a strong flavored/dark vinegar (such as Balsamic or Sherry) with this recipe.
A little bit about what I’ve been up to lately:
What I’m Reading:
Currently making my way through Stanley Tucci’s memoir, Taste: My Life Through Food. He seems like the type of person I’d like to be friends with (mostly based on our mutual obsession with all things Italian).
What I’m Watching:
(Obviously) Season 2 of Searching for Italy, Stanley Tucci’s gorgeous culinary docuseries on CNN. I just watched the Piedmont episode and now I can’t stop thinking about truffles and one day taking a trip with breathtaking Alpine views.
Also, the final few episodes of This is Us. I’m normally not much of a TV-crier (big real life crier, yes, TV, not usually) but I have ugly cried the last couple episodes (“The Train” and “Family Meeting”), to the point where my husband had to pause the show a few times in order for me to collect myself, lol.
What I’m Listening To:
I just listened to a fantastic episode of Chris Wark’s podcast, Chris Beat Cancer, featuring Dr. Dean Sherzai of The Alzheimer’s Solution. Really fascinating information on how our diet and lifestyle can increase/decrease our likelihood of getting one of the most devastating diseases out there.